
Next, you need to download Auto-GPT from GitHub: follow the link to the latest release and download the zip file you find there. Once you have extracted the archive, duplicate the file named .env.template, rename it to .env and open it in a text editor. Look for the line “OPENAI_API_KEY=your-openai-api-key” and replace “your-openai-api-key” with an actual API key from your OpenAI account.
You can get an API key here. You only get a few free API calls with ChatGPT, so you’ll want to set up a payment method. You can see the most recent prices on this page (at the time of writing, it’s a few cents per thousand tokens or pieces of information processed). When you set up your payment method, you can also configure payment limits to ensure that AutoGPT doesn’t cost you more than you’re comfortable with.
Once you have saved and closed your .env file, you can launch Auto-GPT by right-clicking on the folder and choosing Open in Terminal. Type “pip install -r requirements.txt” and press Enter to install the necessary libraries, then type “python -m autogpt” and hit Enter to start Auto-GPT itself. You are then free to make Auto-GPT work for you anonymously: just tell it what you want it to do and it will get to work.
Its thinking is shown on screen and you are asked to confirm every action in the process that Auto-GPT works out. If you prefer to approve multiple actions in a row, type “yx”, where x is the number of actions you want the bot to proceed without your approval (remember, all of these ChatGPT requests will cost you a small fee). If you need to end a task before it completes, use Ctrl+C.
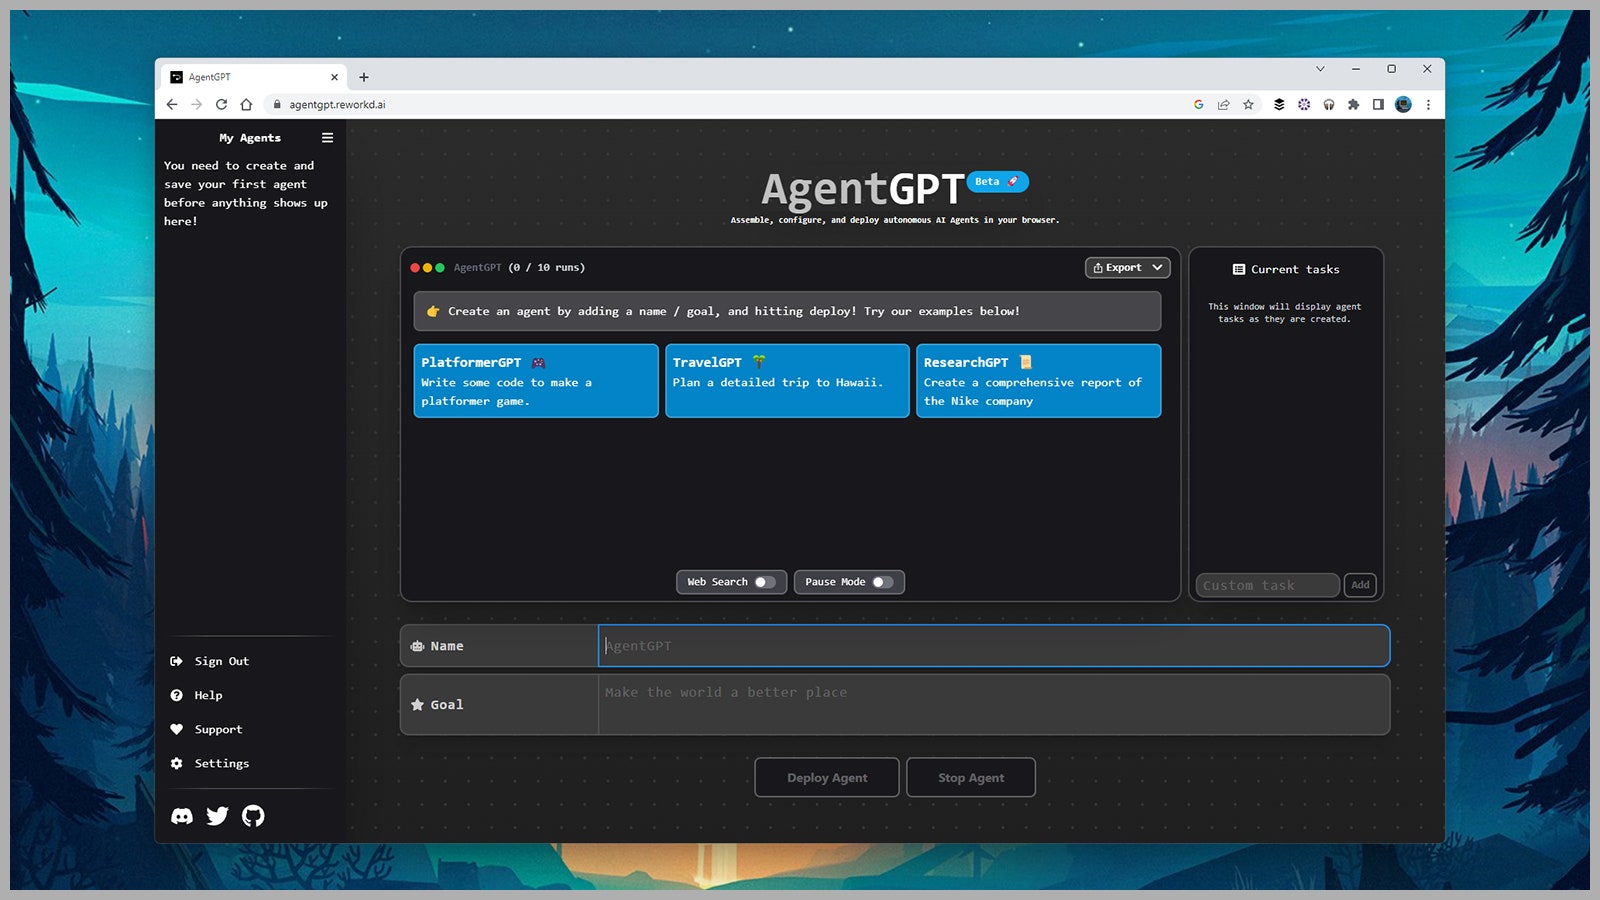
If this seems like a lot of work and you want something simpler to play with, AgentGPT is a similar project based on Auto-GPT that works in the browser, no installation required. It’s not as advanced as Auto-GPT, but it’s easier for beginners and gives you an idea of what’s possible with these autonomous AI agents.
As with Auto-GPT, you need an API key for ChatGPT to work for AgentGPT to work properly (and again you will be charged based on usage). You can plug this API key into the tool via Institutions on the left side. Give your agent a name and purpose using the on-screen input, then choose Deploy Agent to stake it out. Tasks are displayed on the right as they are generated and completed.